
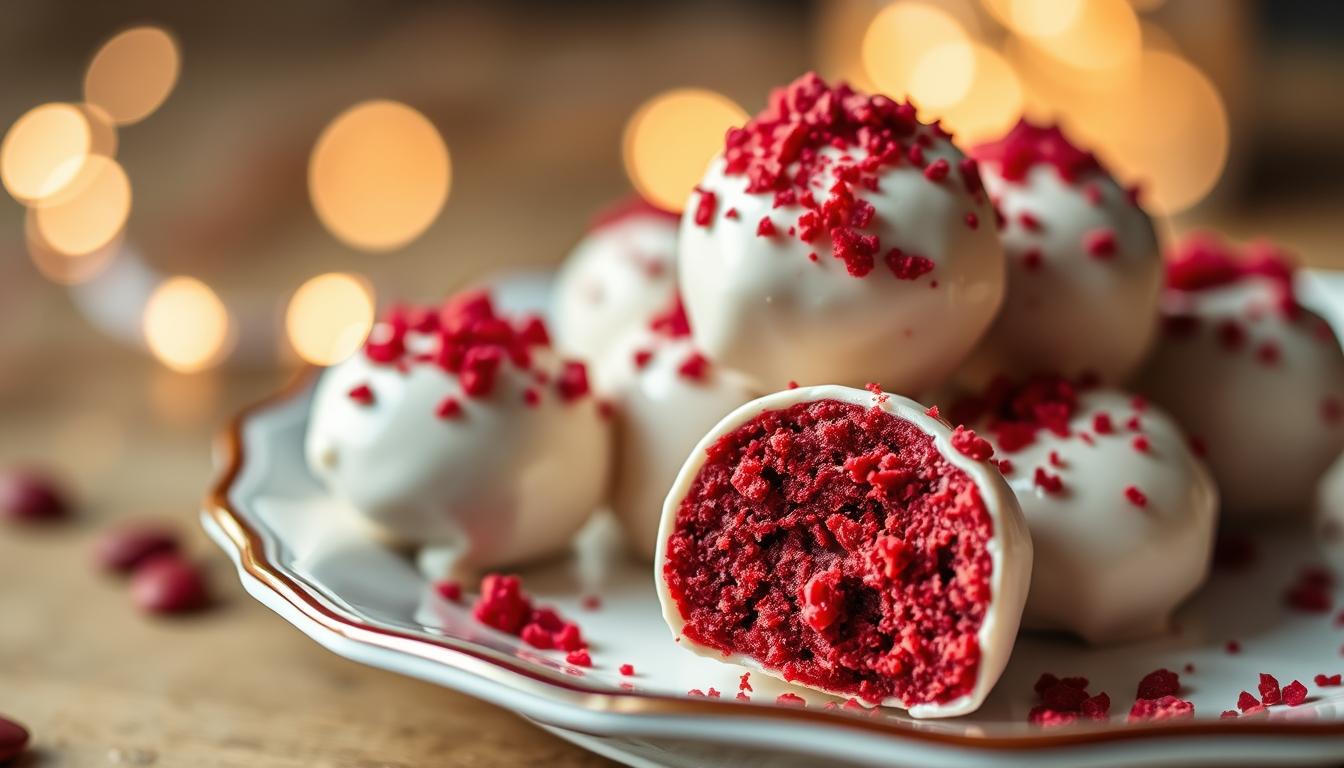
Imagine biting into a small, perfectly crafted red velvet truffle. It melts in your mouth, releasing a burst of rich, velvety flavor. These truffles are more than just a dessert. They’re a culinary experience that turns an ordinary moment into something special.
As a passionate home baker, I’ve found that making easy red velvet cake truffles is more than following a recipe. It’s about creating a little piece of joy that connects people through shared sweetness. Whether it’s for a special occasion or just for yourself, these bite-sized delights are sure to spark smiles and create memories.
In this guide, we’ll take you through every step of making the most irresistible red velvet truffles. They look professional but are surprisingly simple to make. You’ll learn how to select the perfect ingredients and master the chocolate coating technique. Soon, you’ll become a truffle-making expert.
Table of Contents
Key Takeaways
- Master the art of creating restaurant-quality red velvet cake truffles at home
- Learn professional coating and decorating techniques
- Discover how to transform a simple cake mix into elegant truffles
- Understand the perfect balance of flavors and textures
- Explore creative variations and presentation ideas
What Makes Red Velvet Cake Truffles Special
Red velvet desserts have won the hearts of many for years. But red velvet cake truffles take this classic to a new level of yum. These small treats pack all the best of red velvet cake into a tiny, irresistible package.

The Classic Red Velvet Flavor Profile
The magic of red velvet cake truffles is in their special flavor mix. You’ll taste a perfect blend of:
- Mild cocoa undertones
- Tangy buttermilk notes
- Sweet vanilla essence
- Rich buttery undertones
The Perfect Balance of Textures
A cream cheese ball center gives a smooth, luxurious inside. This contrasts beautifully with the crunchy chocolate coating. Each truffle offers a rich, multi-dimensional taste that makes you want more.
Why These Truffles Are Perfect for Gifting
Red velvet desserts are great gifts because of their:
- Elegant look
- Compact size
- Impressive presentation
- Unique taste
| Nutritional Highlights | Per Serving |
|---|---|
| Calories | 102 kcal |
| Carbohydrates | 14 g |
| Protein | 1 g |
| Fat | 5 g |
Whether it’s for yourself or to impress others, these red velvet cake truffles are a sophisticated treat. They offer a delightful dessert experience that’s sure to please.
Essential Ingredients for Red Velvet Truffles

Making delicious red velvet truffles begins with picking the right ingredients. Your recipe needs a mix of ingredients that turn a simple dessert into a fancy treat.
Core Ingredients for Red Velvet Truffles
- Red velvet cake mix (15.25 ounces)
- Cream cheese (8 ounces, block-style)
- White chocolate melting wafers (20 ounces)
- Red food coloring (2 tablespoons)
- Vanilla extract (1 teaspoon)
The secret to amazing red velvet truffles is in the quality of your ingredients. Using top-notch ingredients makes your dessert go from good to great.
Nutritional Breakdown
| Ingredient | Quantity per Truffle | Nutritional Impact |
|---|---|---|
| Total Fat | 8g | 12% Daily Value |
| Saturated Fat | 4g | 25% Daily Value |
| Carbohydrates | 27g | 9% Daily Value |
| Sugar | 21g | 23% Daily Value |
“The magic of red velvet truffles is in the perfect balance of ingredients and technique.” – Pastry Chef Recommendation
When making your truffles, make sure all ingredients are at room temperature. This helps mix them better and get the right texture. The right mix makes truffles that are rich and melt in your mouth.
Optional Flavor Enhancers
- Cocoa powder (2 tablespoons)
- Lemon juice (1 teaspoon)
- Cornstarch (2 tablespoons)
These optional ingredients can make your red velvet truffles even better. They let you change the flavor to what you like best.
Kitchen Tools and Equipment Needed
To make cake ball recipes for easy red velvet truffles, you need specific tools. The right equipment makes baking fun and easy.

Before starting, collect these key tools. They’ll help make your cake ball recipes smooth and efficient.
Baking Essentials
- 9×13 inch baking pan
- Measuring cups and spoons
- Large mixing bowls
- Electric mixer or stand mixer
- Cooling rack
Truffle-Making Tools
- Food processor or electric mixer
- Cookie scoop or melon baller
- Parchment paper
- Baking sheet
- Rubber spatula
Decorating Supplies
- Dipping tools or large forks
- Piping bags
- Fine-tipped squeeze bottles
- Sprinkles and decorative toppings
- Chocolate melting tools
Investing in these tools will make your red velvet cake balls look professional. Each tool is important for making truffles that are both delicious and beautifully coated.
“The right tools can turn a good recipe into an extraordinary culinary experience.”
Pro tip: Always have parchment paper and a clean workspace ready. This will make your truffle-making process smoother and more enjoyable.
Making the Perfect Red Velvet Cake Base
Creating a great red velvet cake base is key for tasty cake truffles. Start by picking the right ingredients and techniques. This will make your truffles moist and full of flavor.
- From-Scratch Red Velvet Cake
- High-Quality Boxed Mix Option
When baking from scratch, you’ll need these ingredients:
- 200g granulated sugar
- 180g plain flour
- 20g cocoa powder
- 175ml buttermilk
- 1/2 teaspoon red food coloring
The secret to a fantastic red velvet cake is getting the right moisture. Bake at 170ºC for about 35-40 minutes. Be careful not to overbake, as it can make the cake dry and ruin the truffle texture.
“The foundation of great cake truffles is a cake that’s moist, tender, and full of flavor.” – Baking Experts
Your cake should weigh 650-700 grams after baking. This will make about 32 delicious red velvet cake truffles. Let the cake cool completely before crumbling. This step is vital for making the truffles.
Pro tip: If you’re in a hurry, a high-quality boxed red velvet cake mix works well too. The important thing is to keep your cake moist and crumbly for the truffle mix.
Creating the Cream Cheese Binding Mixture
Making the perfect cream cheese ball for your red velvet desserts is all about precision. The binding mixture is key. It turns simple cake crumbs into tasty treats that wow everyone.
To make the cream cheese mixture, follow some important steps. These steps will make your red velvet desserts amazing:
Proper Cream Cheese Temperature Tips
- Take cream cheese out of the fridge 30 minutes before mixing
- Make sure it’s soft but not melted
- Room temperature cream cheese mixes better
- It should be soft and spreadable
Mixing Techniques for Smooth Results
Mixing your cream cheese ball needs care. First, crumble one box of red velvet cake mix into fine crumbs. Then, use an electric mixer on low speed to mix in the 8-ounce softened cream cheese.
“The secret to perfect truffles is in the blend – not too dry, not too wet.”
Watch your mixture’s texture closely. If it’s too dry, add 2-4 ounces more cream cheese. It should be like cookie dough – moist but not sticky.
| Ingredient | Quantity | Purpose |
|---|---|---|
| Red Velvet Cake Mix | 1 box (15.25 oz) | Base for truffles |
| Cream Cheese | 8 oz (1 package) | Binding agent |
| Powdered Sugar | Optional | Additional sweetness |
Pro tip: Chill your mixture for an hour before shaping. This makes the cream cheese ball firm. It’s easier to shape into perfect truffles for your red velvet desserts.
Rolling and Shaping Your Cake Truffles
Making cake ball recipes needs precision and a few key techniques. Shaping is key to getting professional-looking results. You want to make uniform, bite-sized treats that look good and taste great.
- Cookie scoop or tablespoon
- Parchment-lined baking sheet
- Powdered sugar or cocoa powder for dusting
- Clean, dry hands
For perfect cake truffles, size matters. Use a 1/2 tablespoon scoop for uniform sizes. Roll the mix between your palms to make smooth, round balls. If it’s sticky, dust your hands with powdered sugar.
“Precision in shaping is the secret to professional-looking cake truffles.”
Chilling is a must in your cake ball recipes. Put the shaped truffles on a parchment-lined baking sheet and chill for at least 2 hours. Freezing them for 30 minutes works too. This keeps them in shape when you coat them in chocolate.
| Shaping Technique | Details |
|---|---|
| Portion Size | 1/2 tablespoon per truffle |
| Chilling Time | 2 hours refrigerated or 30 minutes frozen |
| Yield | 24-28 medium-sized truffles |
Pro tip for easy truffles: Work in small batches to keep the mix cool and easy to handle. If it gets too soft, chill it for a few minutes before shaping your cake balls.
Chocolate Coating Techniques and Tips
To turn your red velvet truffles into stunning treats, you need to master chocolate coating. The right method can make your easy red velvet truffles look amazing.
Choosing the Right Chocolate
Choosing the right chocolate is key. Here are some top picks:
- High-quality chocolate bars (preferably 60-70% cocoa content)
- Couverture chocolate with higher cocoa butter percentage
- White or milk chocolate for variation
Professional Dipping Methods
For professional-looking truffles, you need to be precise and patient. Here are some expert tips:
- Chill truffles for 1 hour before dipping
- Use a dipping fork or specialized candy tool
- Tap off excess chocolate gently
- Place coated truffles on parchment-lined baking sheet
Troubleshooting Common Coating Issues
Even pros face chocolate coating problems. Quick fixes can save your red velvet truffles from looking amateur:
- If chocolate is too thick, add 1 teaspoon vegetable oil
- Prevent cracking by letting truffles sit at room temperature for 5 minutes before dipping
- Maintain chocolate temperature between 86-90°F for optimal consistency
“Perfect chocolate coating is an art form that transforms simple truffles into gourmet delights.” – Professional Pastry Chef
Nutrition per truffle after coating: 171 calories, 8g fat, 23g carbohydrates. The chocolate finish will impress everyone who tries your homemade treats.
Creative Decorating Ideas and Variations
Turn your red velvet desserts into stunning works of art with these decorating tips. Your christmas cake balls can be the stars of your holiday party.
Here are ways to make your red velvet cake truffles stand out:
- Chocolate Drizzle Techniques
- Contrast white chocolate over dark chocolate coating
- Create intricate zigzag patterns
- Experiment with different chocolate temperatures
- Texture and Garnish Options
- Sprinkle with festive colored sugar
- Roll in crushed candy canes
- Add edible glitter for sparkle
Looking for something different? Try these unique flavors:
- Peppermint extract for a holiday twist
- Almond flavoring for sophisticated taste
- Colored candy melts matching party themes
“The beauty of christmas cake balls is their endless potential for creativity!” – Baking Enthusiast
Pro tip: Add sprinkles or nuts while the chocolate is still wet. This ensures they stick well. With these tips, your red velvet desserts will be amazing and loved by all.
Remember, the key is to have fun and let your imagination guide your decorating process!
Conclusion
Your journey to make delicious red velvet truffles is a fun culinary adventure. It’s based on Southern baking traditions. These treats turn the classic red velvet cake into a fancy, portable dessert. They’re great for any celebration or when you just want something sweet.
Creating easy red velvet truffles shows off your baking skills without needing to be a pro. You’ll learn how to mix cake, bind with cream cheese, and coat with chocolate. This makes a versatile dessert that you can tailor for any event. The best part is how simple and flexible these truffles are.
Storing them is easy: just keep them in an airtight container in the fridge for up to a week. You can also freeze them for longer. As you get better, you’ll feel more confident making these treats. Each batch is a chance to get better and try new flavors.
Baking is all about patience and passion. Your red velvet truffles are more than just a dessert. They’re a tasty way to share your creativity and love through food. Enjoy the journey, every step of the way, and relish the sweet results of your culinary adventure.