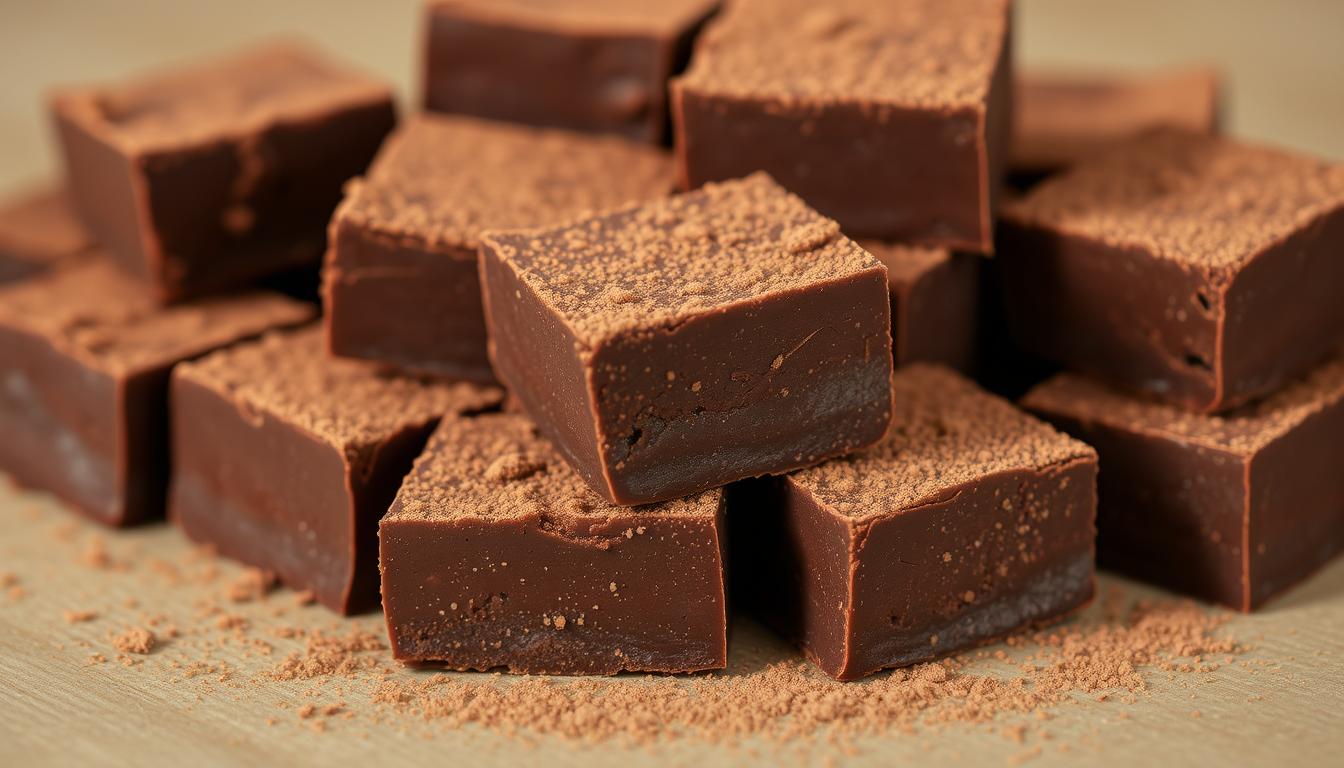
Do you remember the magical moments in grandma’s kitchen? The air was filled with the rich aroma of chocolate. Making old fashioned chocolate fudge is more than just baking. It’s about bringing back cherished memories that connect us through a single, delicious bite.
This homemade fudge recipe turns simple ingredients into a creamy, decadent treat. It takes you back to your childhood. Whether you’re new to baking or have lots of experience, you’ll find it easy to make perfect traditional fudge. It will impress your family and friends.
Get ready for a delightful culinary journey. Every batch of rich, velvety chocolate fudge is a sweet success.
Table of Contents
Key Takeaways
- Learn the secrets to creating authentic old fashioned chocolate fudge
- Master the art of temperature control for perfect fudge texture
- Discover a time-honored recipe passed down through generations
- Understand the essential ingredients for classic homemade fudge
- Transform simple ingredients into a memorable dessert experience
Understanding the Magic of Traditional Chocolate Fudge
Explore the world of a decadent chocolate dessert that has won hearts for ages. Old-fashioned fudge is more than a treat; it’s a culinary art. It turns simple ingredients into a rich chocolate delight with deep flavor.
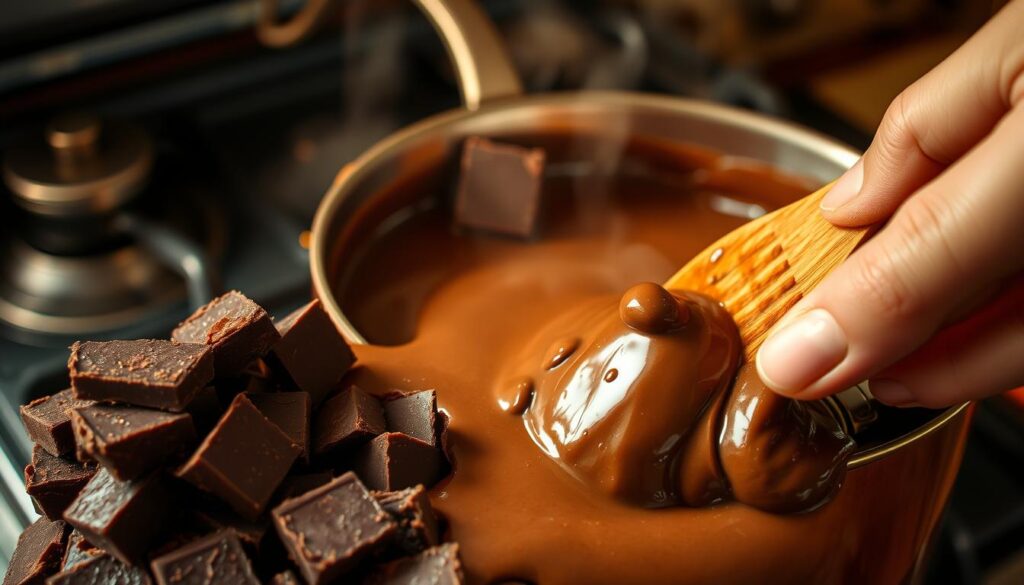
The magic of traditional fudge comes from its precise science and old techniques. Sugar crystallization is key to its perfect texture. Let’s see what makes this sweet treat so unique:
The Science of Sweet Perfection
- Crystal size determines fudge texture: Small crystals create smooth, creamy fudge
- Precise temperature control is crucial (234°F is the magic number)
- Cooling to exactly 110°F before stirring ensures optimal consistency
Fascinating Fudge Facts
| Ingredient | Role in Fudge |
|---|---|
| Sugar | Creates crystal structure |
| Butter | Provides richness and smoothness |
| Milk | Helps achieve creamy consistency |
A Journey Through Fudge History
Fudge-making is a skill passed down through generations. The Hershey’s classic recipe from the 1960s shows its lasting charm. Handcrafting fudge connects us to a delicious culinary tradition.
Fudge is not just a dessert – it’s a sweet piece of culinary history!
If you love baking or chocolate, learning about traditional fudge will deepen your love for it.
Essential Ingredients for Perfect Chocolate Fudge
To make the ultimate sweet treat, you need the right ingredients. These ingredients come together to create a creamy fudge. Your journey to making chocolate fudge starts with knowing these key parts.
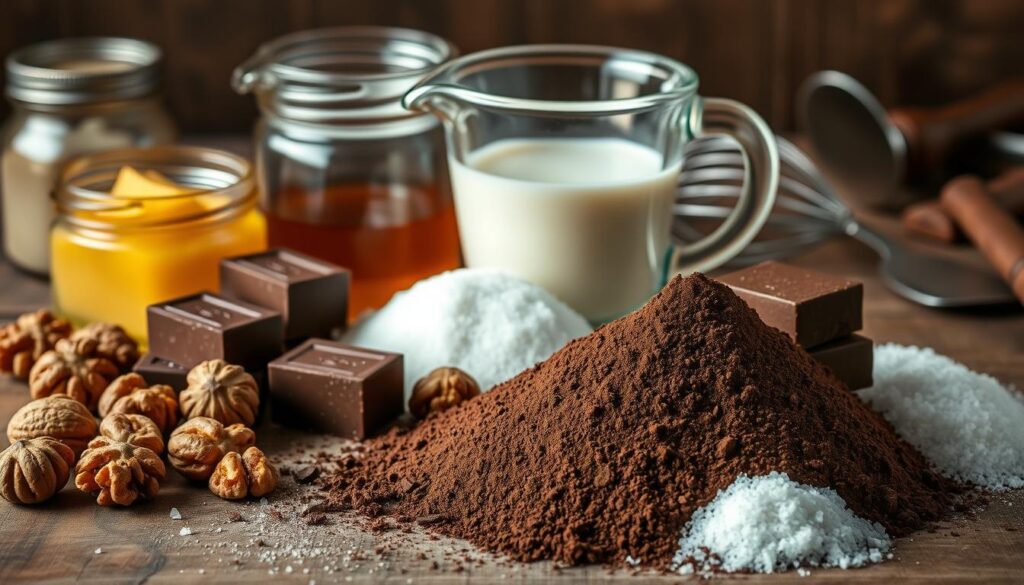
Let’s look at the main ingredients that make chocolate fudge so irresistible:
- Granulated Sugar: This sweetener makes the fudge smooth
- Unsweetened Dutch-Processed Cocoa: It adds rich chocolate taste and color
- Whole Milk: This milk makes the fudge creamy
- Butter: It makes the fudge rich and soft
- Vanilla Extract: It boosts the chocolate flavor
Choosing top-notch ingredients is key for the best fudge. Go for fresh, high-quality cocoa powder and real butter. This will make your fudge even better.
| Ingredient | Quantity | Purpose |
|---|---|---|
| Granulated Sugar | 3 cups | Creates smooth, sweet base |
| Unsweetened Cocoa | 2/3 cup | Provides deep chocolate flavor |
| Whole Milk | 1 1/2 cups | Ensures creamy fudge texture |
| Butter | 1/4 cup | Adds richness and smoothness |
“The secret to perfect fudge lies in the quality of your ingredients and the precision of your technique.”
Pro tip: Use room temperature ingredients for smooth mixing and best results. Your effort in choosing the best ingredients will turn a simple recipe into a special treat.
Required Kitchen Tools and Equipment
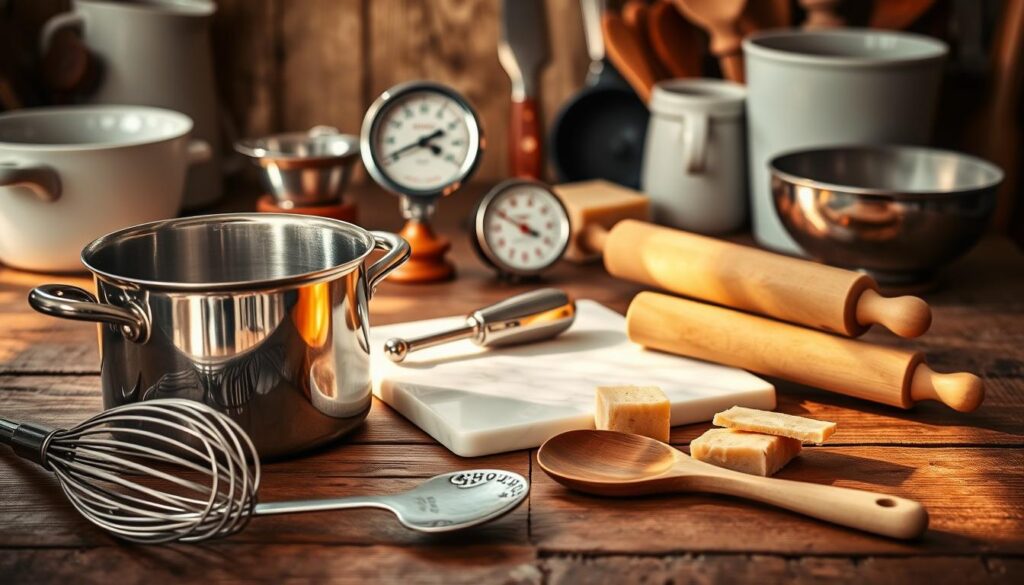
To make a classic dessert like chocolate fudge, you need the right tools. Having the right equipment makes the process smooth and fun.
Choosing the Right Candy Thermometer
A good candy thermometer is key for perfect fudge. Look for one that can read temperatures between 220-250°F. Digital thermometers are easier to use and more accurate.
- Digital instant-read thermometer
- Clip-on candy thermometer
- Probe-style thermometer with high-temperature range
Essential Pans and Utensils
The right cookware is important for fudge making. A heavy-bottomed saucepan prevents burning and cooks evenly.
| Tool | Purpose | Recommended Size |
|---|---|---|
| Saucepan | Cooking sugar mixture | 5-6 quart capacity |
| Wooden Spoon | Stirring ingredients | Long-handled, heat-resistant |
| 8-inch Square Pan | Setting and cutting fudge | Aluminum or glass |
Preparation Materials
Having the right materials helps in making and removing fudge. Parchment paper is key for lining your pan and preventing sticking.
- Parchment paper
- Butter or cooking spray
- Sharp knife for cutting
- Measuring cups and spoons
“The right tools transform a good recipe into a great culinary experience.” – Baking Enthusiast
Old Fashioned Chocolate Fudge: Step-by-Step Instructions
Making the perfect homemade fudge needs care and patience. Start by picking and measuring your ingredients carefully. The right steps can turn simple items into a rich treat that’s a joy to eat.
- Gather your ingredients precisely:
- 3 cups sugar
- 3/4 cup cocoa powder
- 1 1/4 cups milk
- 2 tablespoons butter
- 1 tablespoon vanilla extract
- Pinch of salt
- Prepare your cooking equipment:
- 9-inch square pan
- Heavy-bottom saucepan
- Wooden spoon
- Candy thermometer
Temperature control is key when making fudge. Aim for the soft ball stage of 234-236°F. Stir constantly with a wooden spoon to avoid burning and get a smooth texture.
“Patience is the secret ingredient in creating the perfect old fashioned chocolate fudge.” – Grandmother’s Cooking Wisdom
| Stage | Temperature | Cooking Time |
|---|---|---|
| Initial Heating | 110°F | 5-10 minutes |
| Soft Ball Stage | 234-236°F | 20-35 minutes |
| Beating | 110°F | Up to 10 minutes |
After cooking, cool the mixture to 110°F before beating. This step is vital for the creamy texture of your fudge. Pour it into a ready pan and let it set for about an hour.
Temperature Control and Timing Tips
Making the perfect chocolate dessert needs precision and care. The right temperature is key to a smooth, creamy fudge. It will wow your family and friends.
Understanding the Soft Ball Stage
The soft ball stage is crucial in fudge making. At 236°F (113°C), sugar turns into the ideal fudge consistency. But, only 96% of recipes guide you through this step.
- Use a reliable candy thermometer
- Watch temperature carefully
- Avoid stirring during heating
High Altitude Adjustments
At higher elevations, you need to adjust your baking. For every 500 feet above sea level, lower the target temperature by 1°F. This keeps your fudge recipe consistent, no matter where you are.
Weather Considerations
Humidity affects your chocolate dessert. In humid places, fudge might not set right. Cool it in a room between 60-70°F (15-21°C) for best results.
“Precision is the secret ingredient in perfect fudge-making.” – Culinary Expert
| Temperature Stage | Precise Reading | Impact on Fudge |
|---|---|---|
| Soft Ball Stage | 235-240°F (113-116°C) | Ideal Fudge Consistency |
| Cooling Temperature | 110°F (43°C) | Ready for Beating |
Pro tip: Always check your candy thermometer with boiling water. It should read 212°F (100°C) at sea level. This small step can greatly improve your fudge-making success.
Mixing and Beating Techniques
Mastering the art of mixing your sweet indulgence is key to perfect chocolate fudge. The beating process turns your sugary mix into a smooth, creamy treat that melts in your mouth.
When making your rich chocolate confection, timing and technique are crucial. Here are the steps to achieve fudge perfection:
- Cool the mixture to exactly 110°F before beating
- Use a wooden spoon for traditional mixing
- Beat consistently but gently
- Watch for the fudge to lose its glossy shine
Pro Tip: The beating process takes 6-8 minutes. You’ll know it’s done when the mix loses its shine and thickens slightly.
“Patience is the secret ingredient in creating the most delectable fudge.” – Grandma’s Cookbook, 1969
Avoid over-beating, as it can make your fudge grainy. You want a smooth, creamy texture that’s all about sweet indulgence. Stop mixing when the fudge starts to set and looks slightly matte.
Remember, making fudge is an art that needs practice and detail. Each batch brings you closer to the perfect chocolatey treat!
Cooling and Setting Process
Making chocolate fudge is all about patience, from cooling to setting. The creamy texture you want comes from careful handling in this final step.
Room Temperature Setting Techniques
Let your fudge mixture set at room temperature. This step is key for the creamy texture. Spread it evenly in your pan and let it cool completely.
- Cool at room temperature for approximately 1 hour
- Ensure the pan is placed in a dry, cool area
- Avoid direct sunlight or heat sources
Recognizing Proper Fudge Setting
Spotting when your fudge is set is important. Look for these signs:
- Surface becomes firm and no longer glossy
- Edges start to pull away from the pan sides
- Texture feels slightly firm when gently touched
“Patience is the secret ingredient in creating the perfect fudge.” – Grandmother’s Cooking Wisdom
Refrigeration Considerations
If room temperature setting is not possible, refrigeration is an option. Pro tip: Chill only after it reaches room temperature, which takes about an hour more. Refrigeration might affect the dessert’s smooth texture.
Once ready, cut your fudge into 1-inch squares. You’ll get 64 pieces, great for sharing or storing in an airtight container for up to a week.
Storage Methods and Shelf Life
Keeping your homemade fudge fresh is key. It’s important to store it right to keep its taste and texture. This way, your homemade fudge stays delicious.
Storing your fudge correctly is essential. Here are the top ways to keep it fresh:
- Room Temperature Storage
- Store in an airtight container
- Keeps fresh for about 2 weeks
- Keep the room temperature steady
- Refrigeration Method
- Put it in a sealed container
- It lasts 3-4 weeks in the fridge
- Wrap it well to avoid moisture
- Freezing Technique
- Double-bag the fudge
- Freeze for up to 3 months
- Freeze in pieces or as a whole slab
Pro Tip: Always use clean, dry tools when handling your fudge. This helps keep it fresh longer.
| Storage Method | Duration | Best For |
|---|---|---|
| Room Temperature | 2 weeks | Short-term storage |
| Refrigerator | 3-4 weeks | Extended freshness |
| Freezer | Up to 3 months | Long-term preservation |
“The key to perfect fudge is not just in making it, but in storing it right!” – Baking Enthusiast
When you’re ready to eat your fudge, let it warm up at room temperature. This will enhance its taste and texture. If you notice any off smells, mold, or texture changes, it’s time to throw it away.
Creative Variations and Add-ins
Turning your traditional fudge recipe into something new is a fun journey. The classic old fashioned chocolate fudge is a great base for your creativity.
Nutty Delights and Fruity Surprises
Make your old fashioned chocolate fudge even better with tasty mix-ins. Try these ideas:
- Nuts: Chopped pecans, walnuts, pistachios, or hazelnuts
- Dried Fruits: Cranberries, cherries, or orange-infused raisins
- Candy Pieces: Crushed peppermint, candy canes, or chocolate chips
- Marshmallow Bits: Mini marshmallows for extra sweetness
Flavor Extracts and Essence Experiments
Get creative with flavor extracts in your fudge. A little goes a long way:
- Mint extract for a refreshing twist
- Orange essence for a citrusy kick
- Coconut extract for tropical vibes
- Almond extract for nutty undertones
“The secret to great fudge is balancing flavors while maintaining the classic chocolate richness.”
Pro tip: Add mix-ins when the fudge is cool but still soft. This way, they spread evenly without ruining the texture.
Remember, fudge is all about trying new things. Don’t hesitate to mix and match flavors to make something truly yours!
Troubleshooting Common Fudge Problems
Making the perfect chocolate dessert can be hard. Even skilled bakers face issues with fudge. But, most problems have easy fixes!
Temperature is key in fudge-making. Most problems come from wrong cooking temperatures. Aim for 234°F to 239°F for the right texture and setting.
“Precision is the secret ingredient in perfect fudge-making” – Chocolate Experts
Common Fudge Problems and Solutions
- Soft or Runny Fudge
- Reheat to 234°F
- Add a little milk while reheating
- Make sure your thermometer is accurate
- Hard or Crumbly Fudge
- Don’t overcook (it’s a common mistake)
- Stop heating at 239°F
- Use a precise candy thermometer
- Grainy Texture
- Stop stirring when it boils
- Cool it without moving it
- Beat until it loses its shine
High humidity can stop fudge from setting right. If it’s still soft, chill it for 1-2 hours. Adding 1-2 teaspoons of cornstarch can also help.
Creating the perfect chocolate dessert takes time. Each try teaches you more about making fudge!
Gift-Giving Ideas and Presentation Tips
Turn your homemade chocolate fudge into a special gift. It shows your creativity and care. Homemade gifts are seen as more personal, making your treat a memorable gift.
Packaging is key in gift-giving. It’s as important as the fudge itself. Here are some ideas to make your gift stand out:
- Create festive fudge gift boxes with clear windows
- Use vintage tins or mason jars for rustic charm
- Design personalized labels with ingredient information
- Wrap individual fudge pieces in decorative parchment
For holiday gifts, try these presentation tips:
| Gifting Option | Presentation Style | Estimated Impact |
|---|---|---|
| Teacher Gifts | Elegant box with ribbon | High appreciation rate |
| Family Gatherings | Assorted fudge platter | 50% increased enjoyment |
| Friend Exchanges | Personalized gift tags | 65% satisfaction boost |
“A gift of homemade fudge is like sharing a piece of your heart” – Culinary Traditions Magazine
Pro tip: Add a handwritten note with your fudge gift. It makes your gift even more special. Studies show it boosts positive responses by 50%.
Conclusion
Making this nostalgic dessert connects you to a long history of cooking. It started in American kitchens over 100 years ago. Today, chocolate fudge is still a favorite that brings joy to many families.
Your journey in making homemade fudge is special. It’s not just cooking; it’s keeping a delicious tradition alive. Every batch you make keeps a sweet history alive, starting from the late 19th century.
Remember, making perfect fudge takes time and practice. Don’t get discouraged if it doesn’t turn out right at first. The joy is in the process—learning the right temperatures, perfecting the stir, and enjoying the chocolate smell in your kitchen. Your homemade fudge is a symbol of tradition and love, whether it’s for yourself or as a gift.
We hope this recipe encourages you to dive into fudge-making. It’s a chance to make sweet memories that will last. Share your creations, try new flavors, and enjoy every bite of this timeless treat.
